Email template basics for Pardot Lightning
Congratulations! You’ve just purchased a Pardot license and are ready to start your first email campaign. Or maybe you’ve had Pardot for a while now and are finally migrating from your current email marketing system to Pardot. Whatever the reason, one of the first orders of business is to create an email template.
How to create an email template in Pardot Lightning
Templates are located under Pardot email>Templates. Before you get started, email templates must have a folder and campaign selected.
Pardot email templates can be plain text only or HTML and plain text; they are used for four types of emails:
- Auto responder emails
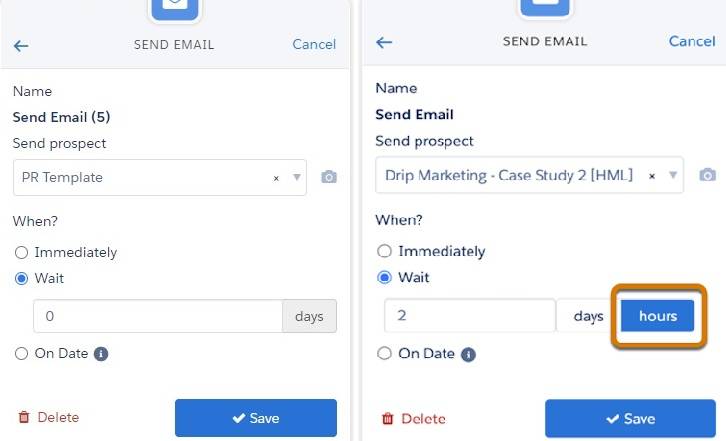
- Engagement studio emails
- List emails
- One-to-one emails
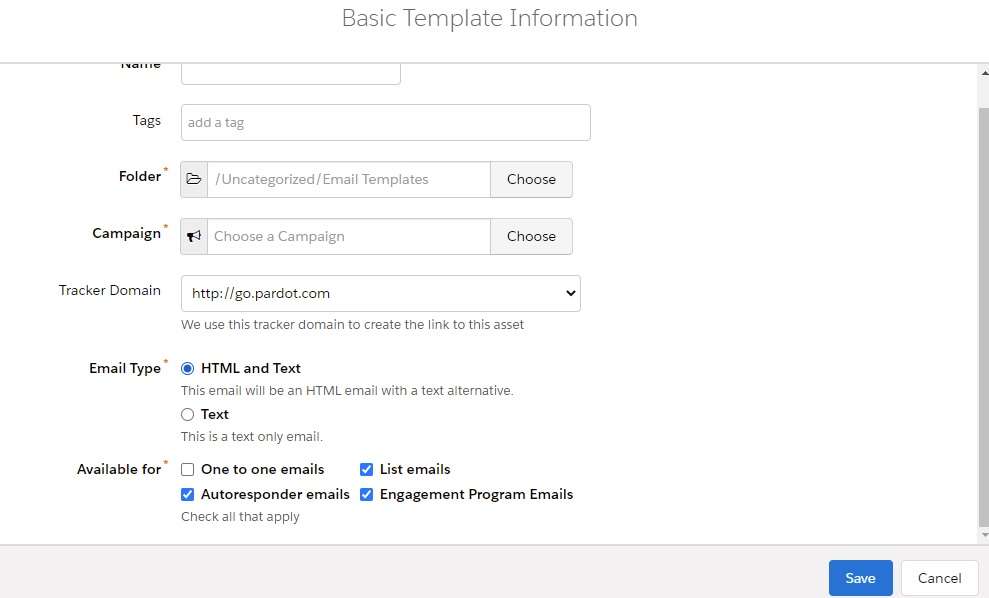
Email template layouts
Pardot provides at least 40 template variations from single column layouts to multi-column, mobile-specific layouts to meet a wide variety of needs. You can select one of these or, if you plan on importing HTML from another email builder or plan on coding it from scratch, you can skip the template selection and start with a blank slate.
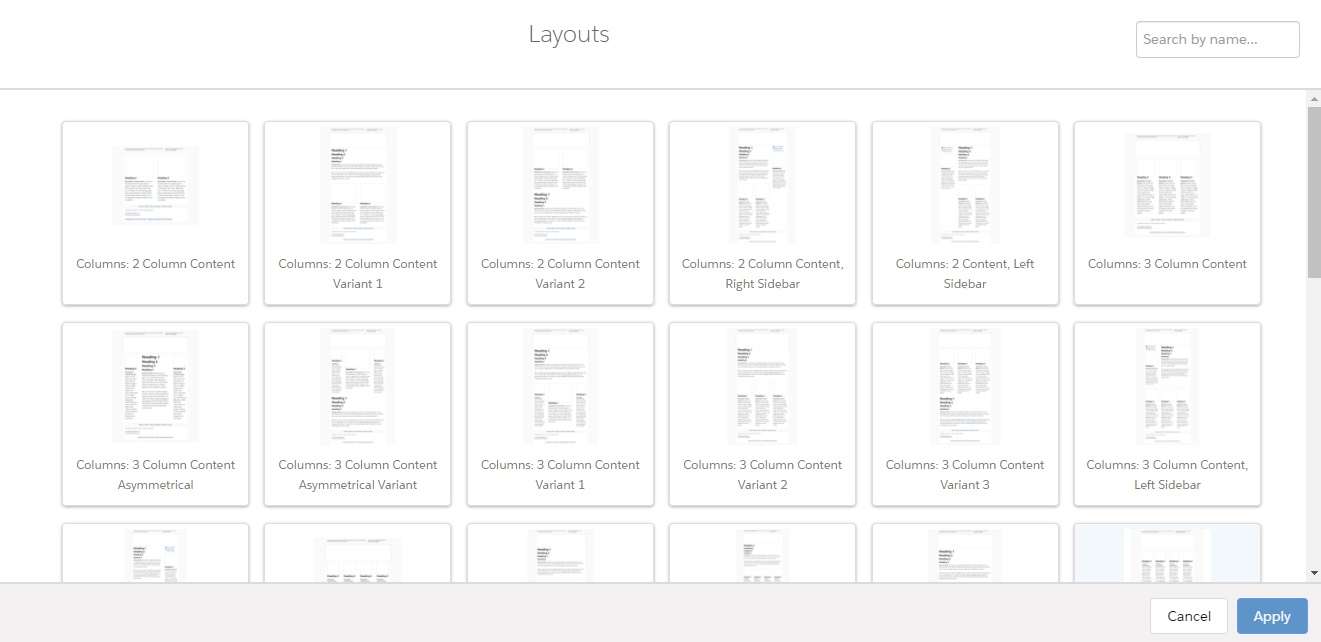
Building the email template
Pardot Lightning email builder consists of three main steps: building, testing and sending. Building is the first step. This is where you will add your subject line and insert the email header, footer and body. In general, these are some best practices to follow for emails that will target desktop and mobile users.
Header best practices
- Header image should be no wider than 600 pixels to ensure it fits on all devices. If your audience is exclusively mobile users, you can go even smaller.
- Header image should be optimized to maximize deliverability.
Some tips for achieving this include:- Use images that are 72 dpi and no wider than 600 pixels.
- Include alt text for your image.
- Save images as PNG or JPG files. SVG files, which are often used for company logos on websites, cannot be used with Pardot.
Footer best practices
- Include your physical and/or postal address. CAN-SPAM (US), CASL (Canada) and GDPR (EU) all require your address be somewhere on the template. CAN-SPAM requires a physical address whereas CASL and GDPR require it be at least a mailing address. Pardot makes this fairly painless by providing a merge field that pulls your company’s address from the account information page in Pardot settings.
- Add social media links for sharing, if applicable. The footer is the ideal home for social media icons since they won’t be changing on a regular basis.
- Give people a way to opt-out of receiving emails by providing a link to their email preference center or an opt-out link, or both. Email preference center is the preferred option as a reader may see another email list there that better fits their interests.
Body best practices
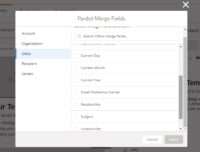
Start your email with a custom greeting—Pardot merge fields allow you to personalize your emails by greeting readers by their first name. Assuming you collect first name and last name on your newsletter forms, you are able to customize email greetings to give a more personalized feel to your templates. The merge field for first name looks like this {{Recipient.FirstName}}.
Include engaging, relevant calls to action (CTA)—For example, if you’re after webinar registrations, a button with ‘Register’ is a logical CTA. But, having a link and/or an image ‘see full program schedule’ is also relevant. Keep the number of CTA to a minimum and ensure they serve one main objective. Pardot Lightning email builder doesn’t have a button feature, but Jenna Molby has created a pretty cool button creation feature that works well.
Stick to one font, two max, throughout the email—For the body, consensus is 14pt font or larger is best. Stripo has an excellent blog post on various fonts and how they render on emails clients.
Preview merge fields—There are four submenu items under BUILDING. The first is editor, where you’ll most likely be working. The second is HTML, which gives you access to the code. The third is PREVIEW. Here you will find a drop-down menu of your prospects. Select a prospect and ensure the merge fields are updating accordingly.
Ensure a text version exists—The fourth submenu item is text. Before you can use any email template you need to ensure a text version of it exists. A sync from HTML button makes it easy to copy all info with one click.

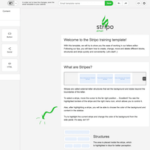
We prefer using an external email builder to build email templates using a convenient drag-and-drop builder and then copying over the HTML to the Pardot Classic email builder, and so do many of our clients. See this popular article: Best email template builders for email production.
Testing the email template
The next step in Pardot after building is testing. You’ll want to set up a test list prior to starting any email templates. Don’t fret if you’ve forgotten this step. Pardot lets you set up a test list from the testing tab. Test lists allow you to verify merge fields. Presently, test lists can have up to 100 recipients and Pardot will record opens and clicks. You also get access to Litmus, an email rendering application, with your Pardot subscription. If this is a new email template or you’ve updated images or the layout, it’s a good idea to use Litmus to pull some image renders of what your email template will look like on various email clients under various environments such as an iPhone or Outlook. Note that the rendering process takes time, sometimes over an hour, to complete.
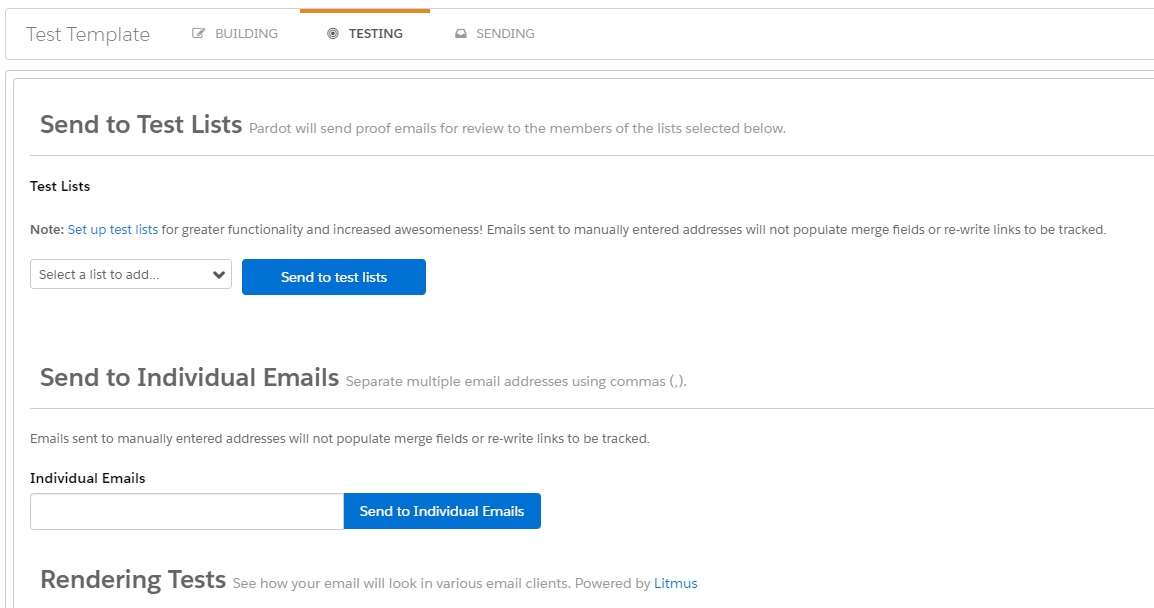
Sending the email template
The final step in creating an email template is sending. This is sort of a misnomer, as you won’t actually be sending the template, but rather setting up who the sender will be. From here you select who the sender is. It can be a specific user (they must be set up in Pardot) or it can come from a generic address. You can specify a different return address should you wish. For example, to route all bounces and replies to a different inbox.
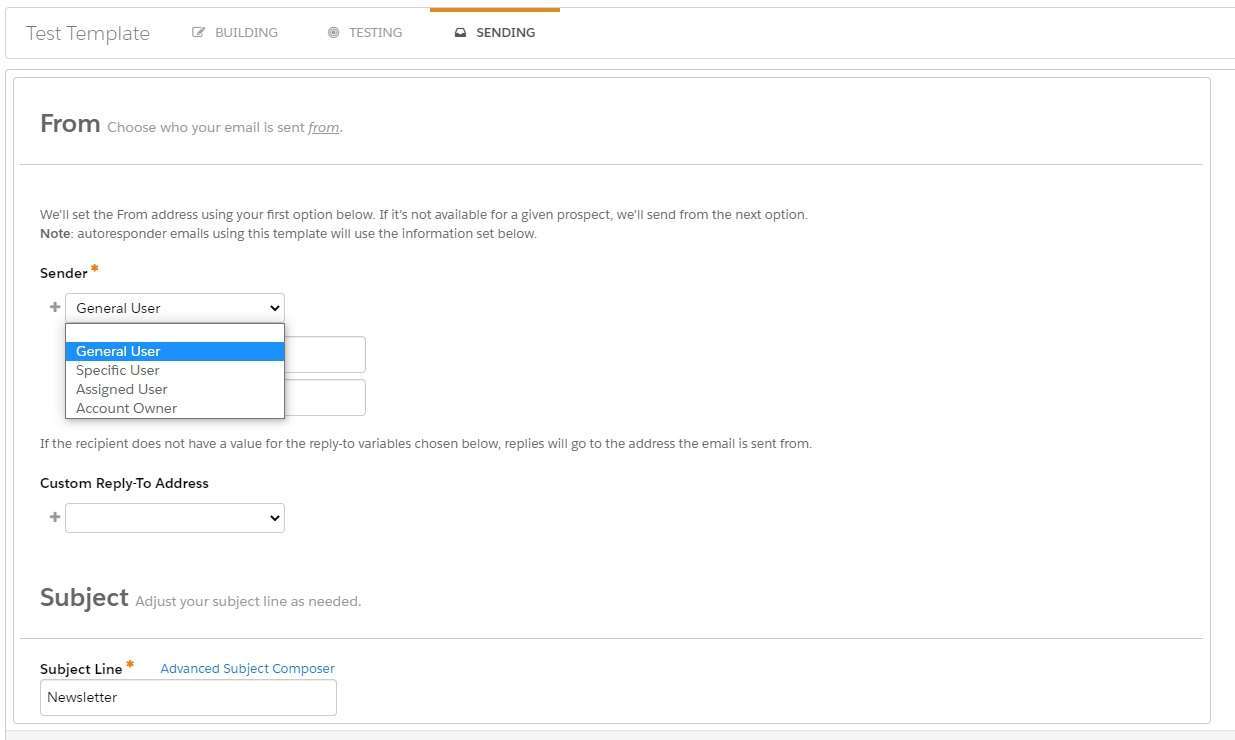
Once you’ve specified the sender and, if applicable, the custom reply-to address, and have double checked the subject line, you’re ready to publish the template. Once the template is published, it is ready to be used. Always ensure your template is published and not leave it in draft mode for too long. You may forget to update it and any completion actions or engagement studios using that template will not have the latest edits.
References
https://www.ftc.gov/tips-advice/business-center/guidance/can-spam-act-compliance-guide-business
https://www.ftc.gov/tips-advice/business-center/guidance/can-spam-act-compliance-guide-business
https://stripo.email/blog/best-fonts-email-usage-tips-tricks/
https://jennamolby.com/bulletproof-pardot-email-button-generator/
About the Pardot rename
In April 2022, Salesforce announced the rebrand of Pardot to Marketing Cloud Account Engagement. While the rebrand unfolds and the world adapts to the new nomenclature, we'll typically keep the Pardot name in our blog posts.
There are several permutations of the new name being thrown about, so you may see us use any one of them as things evolve:
- Pardot
- Marketing Cloud Account Engagement
- Marketing Cloud Account Engagement (Pardot)
- MCAE
- MC Account Engagement
- Account Engagement by Pardot









0 Comments