
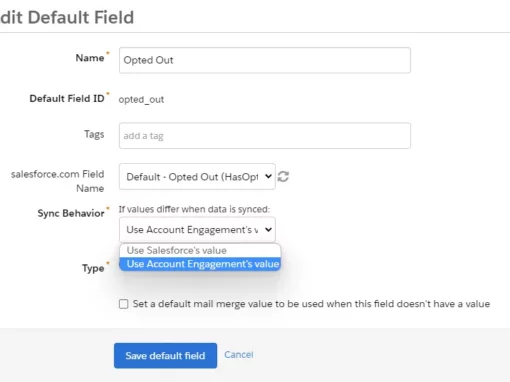
A fundamental element of any email marketing platform is an email preference page—a page where recipients can manage their subscriptions by subscribing to topics of interest or unsubscribing from specific lists, or unsubscribing from all outbound marketing email altogether. The name of this page varies by application. Some call it subscription preference page, others call it unsubscribe page. In Pardot, this page is called the email preference center or EPC.
If you’re new to Pardot or to email marketing platforms in general, you may be wondering how to best use this page. Or if you should use the EPC over the unsubscribe page. In this blog post we discuss what the email preference center is, if it should be used vs. the unsubscribe page and what to look out for when using it with Pardot Classic and Lightning Email Builders.
Adding lists to the email preference center
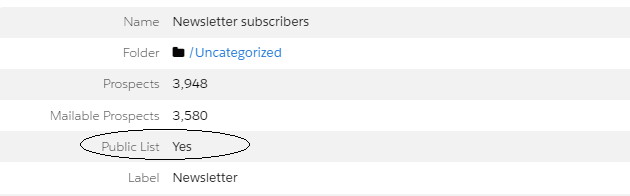
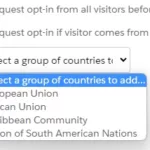
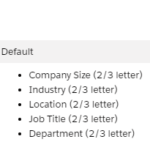
Every Pardot account comes with a default email preference page that is ready for use. The page is minimalistic, in terms of layout and design, but it allows prospects to manage their list subscriptions and to opt-out completely from all communications. In order for a list to appear on the email preference page, it must be a public list. It’s good practice to give prospects access to every list they can subscribe to. As long as your list is a dynamic or a static list, it can be made public and will appear in the email preference center. Test lists cannot be public.
Note: if you list is dynamic, a user can only opt out of it in their preference center.
Dynamic and static lists can be public lists; test lists cannot be public.
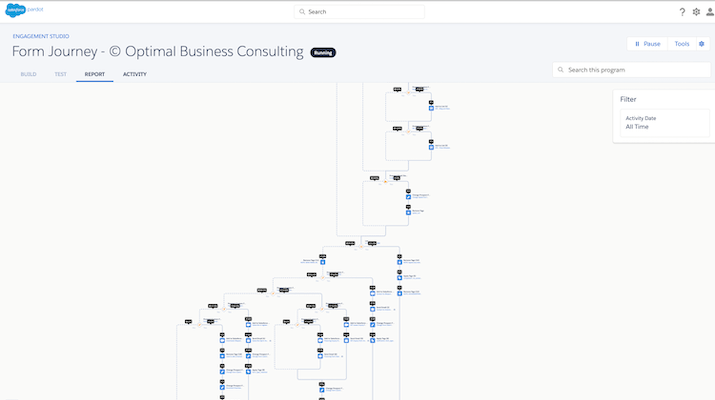
Our proprietary EPC Journey
Optimal Business Consulting has developed an “EPC Journey” that fully automates subscription management based on prospects from specific segments you want added to each published list, while still honoring any prospect opt outs from any published lists. The EPC Journey works great! Reach out to us for more info on setting up an EPC Journey for you.
Email preference center or unsubscribe link. Does it matter?
Once you’ve determined which lists you’d like to be public, you’re ready to use the EPC in an email by inserting the appropriate variable tag into your email template. All emails must have either an EPC link or an unsubscribe link. I sometimes see folks who include both links in their emails. Both are not needed and, since prospects can opt-out via their email preference center, I tend to use the EPC link almost exclusively. Even if your email preference center isn’t exactly as you’d like it, or if you’re still in the process of adding lists to it, I recommend using it over the unsubscribe link. When someone clicks this link they are unsubscribed from all marketing communications.
Inserting the email preference center in Pardot emails
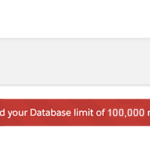
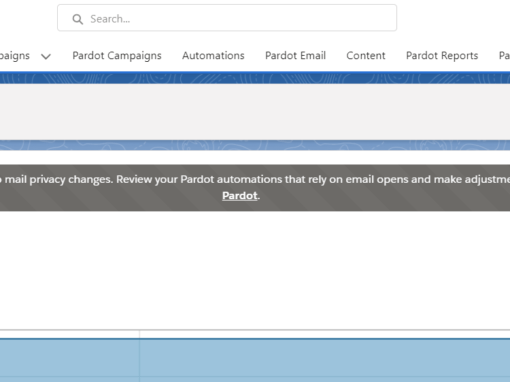
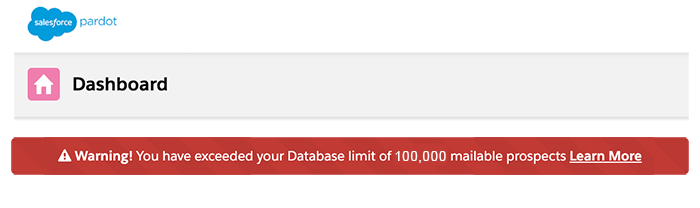
Pardot email preference center links are populated via Handlebars Merge Language (HML) or, for pre-2019 versions of Pardot, Pardot Merge Language (PML). If you’ve not yet upgraded from Pardot Classic to Lightning, turning on HML is a prerequisite to the upgrade. HML is on by default for all new Pardot Lightning accounts. Pardot frequently reminds users who’ve not yet upgraded by chronically dangling a large banner at the top of their screen, visible each time users log in.
How do I know if I’m using Pardot HML or PML?
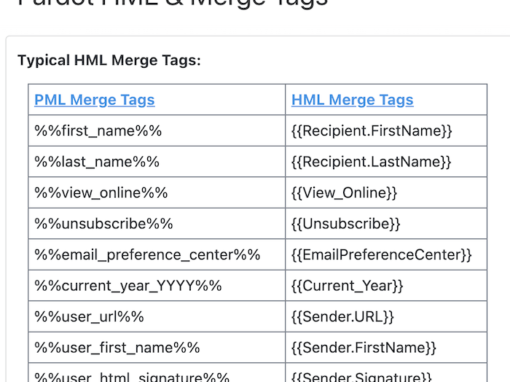
Pardot variable tags are easy to identify as they enclose the fields in %%. For example, the variable tag for a prospect’s first name looks like this with variable tags (PML) %%first_name%%. With HML the % has been replaced with braces { and looks like this {{Recipient.FirstName}}.
The syntax consists of two open curly braces, followed by the object name, a period, the field name, and two closing curly braces. HML is essentially using Salesforce’s variable tags for one, cohesive merge language. The email preference looked like this with Pardot variable tags %%email_preference_center%%. With the HML makeover, it looks like this {{EmailPreferenceCenter}}.
See related article: Understanding Pardot HML
EPC in Pardot Classic and Lightning email
If you’re using one of Pardot’s email template layouts, the email preference center appears as a hyperlink, with the text ‘update subscription preferences’.
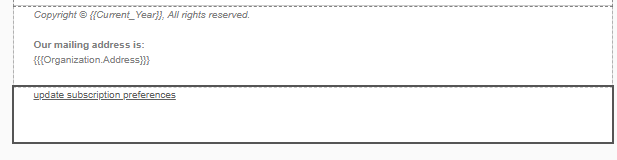
Here is the html for the above template.

Two vs three braces for Pardot HML
If you’re simply inserting it into your email template, you’ll notice your merge field is flanked by three braces {{{EmailPreferenceCenter}}} and not two. According to Salesforce, HML uses two curly braces to render HTML-escaped data. Two braces are standard for most merge fields. But what if your object contains special characters, such as an ampersand or accent? To preserve the field and avoid it being modified, put a third curly brace around your merge field to keep it in raw format, such as {{{Recipient.FirstName}}}. As we mentioned earlier, Pardot appears to be defaulting to three braces on many of its merge fields, such as email preference center, presumably to help retain data integrity.
Email preference center inside anchor tags
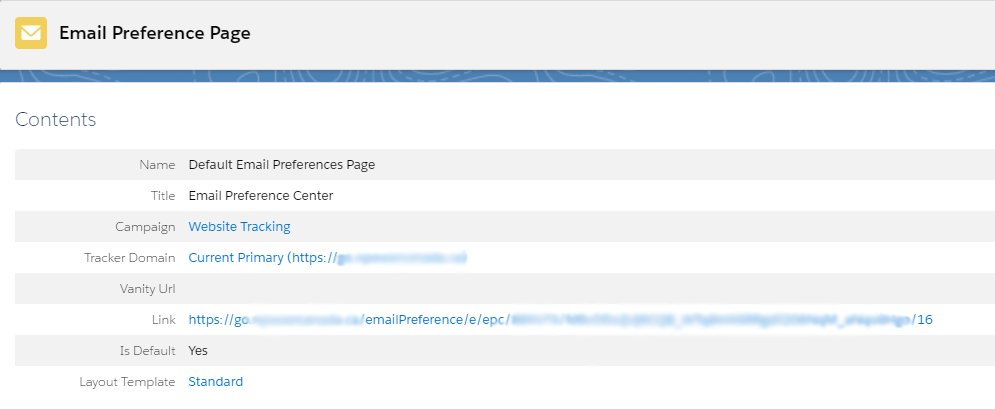
What won’t work is inserting the actual URL of your email preference center into the anchor tag. The details of your email preference page can be found in the left-hand menu under Pardot email. All Pardot accounts come with a default email preference page. The URL for the page consists of a long string of numbers and letters. You can create a vanity URL if you’d like to shorten this up so that anyone who does decide to visit this page is met with a more appealing web address.
If you insert the actual URL into the anchor tag, instead of the merge field, you’ll get an error message and won’t be able to save the template or email.
![]()
EPC merge field not in anchor tags
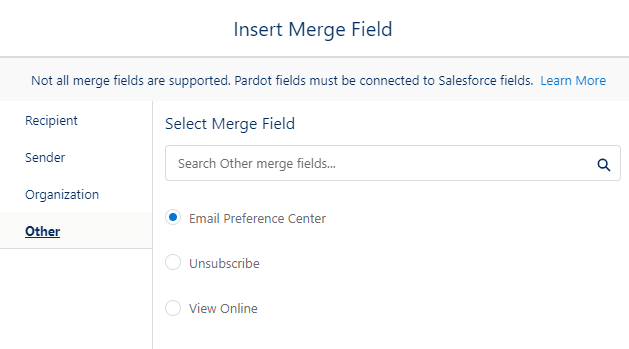
Inserting the EPC merge field directly into your email template is straightforward.

Pardot Classic and Pardot Lightning both have a button for inserting merge fields.
Note: If inserting merge fields directly in the body of your email, remember to leave one space on either side of the tag. For example:
Update here{{{EmailPreferenceCenter}}} will not save.
Update here {{{EmailPreferenceCenter}}} will save because there is a space on either side of the tag or merge field.
TL;DR recap
Pardot requires all emails to have either an email preference center or unsubscribe tag. Both are not needed. Email preference center is always preferred—it gives prospects an opportunity to review all public lists and potentially select a list that better suits their interests or needs.
The email preference center merge field can be inserted directly into the body of an email template; there must be a space on either side of the tag. Email preference center merge fields can also be inserted into the anchor tag.
Pardot HML fields use two curly braces to render HTML-escaped data. To keep the value from being escaped use a third curly brace.
If you’re simply inserting it into your email template, you’ll notice your merge field is flanked by three braces {{{EmailPreferenceCenter}}}.
References
https://help.salesforce.com/s/articleView?id=sf.pardot_handlebars_merge_fields.htm&type=5
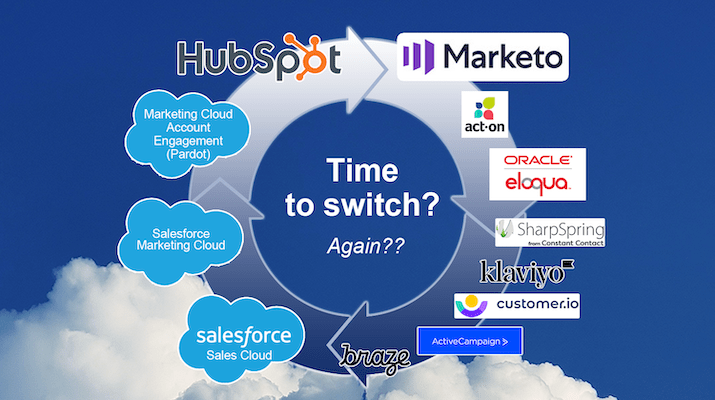
About the Pardot rename
In April 2022, Salesforce announced the rebrand of Pardot to Marketing Cloud Account Engagement. While the rebrand unfolds and the world adapts to the new nomenclature, we'll typically keep the Pardot name in our blog posts.
There are several permutations of the new name being thrown about, so you may see us use any one of them as things evolve:
- Pardot
- Marketing Cloud Account Engagement
- Marketing Cloud Account Engagement (Pardot)
- MCAE
- MC Account Engagement
- Account Engagement by Pardot

Author | Jennifer G
Pardot Consultant
Jennifer has been using Pardot since 2010, way before it was owned by Exact Target or Salesforce. As a marketing and sales professional, Jennifer realized the importance of understanding and mastering a solid MAS and CRM. She enjoys helping others with their MAS and, if she can help marketing and sales folks look like rockstars along the way, even better!


0 Comments